Ztec100.com: Your Hub for Health, Insurance, and Technology
Ztec100.com is your go-to platform for the latest trends in health, insurance, and technology, offering insightful articles and practical advice.
There is a tremendous need for health information connectivity at the intersection of health, insurance and technology in today’s high speed world and Ztec100.com is the ultimate records repository that fills that void.
If as a health enthusiast, technology freak or insurance connoisseur you wish to stay up to date with the newest trends in healthcare, new inventions in the technological field or understanding more about insurance, then this is the site to visit.
Ztec100.com provides informative content that would help reader make the right decisions because the digital world is fast evolving to meet new challenges.
Starting from such strictly technological innovations as AI solutions down to everyday topics like choosing a proper insurance, or getting recommendations on exercising, Ztec100.com provides tons of helpful information.
In a bid to encourage readership of Ztec100.com this article sets out to explain why the dail is your ultimate one stop to health insurance and tech advices with easy to comprehend information.
A Hub for Health Insights in a Technological Era
A major advantage of the Ztec100.com web site is that it is extremely health-oriented. Thanks to effective technologies and their availability in the form of wearable devices and intelligent tools, being up to date has never been more important.
Ztec100.com provides readers updated information about health issues including mental health new techniques of managing the health to the latest eating plan, and exercise regimen among others.
For example, the “How to Beat Obstacles to Better Health” gives its readers useful information supported by scientific data that can easily be put into practice by any person who wants to improve his or her health.
Whether the user is searching for the newest smartwatches to monitor fitness levels, or turning to source credible information on dieting, this platform guarantees users a connection with current and appropriate health information.

Simplifying Insurance in the Digital Age
Introducing oneself to the insurance industry can be a challenge; and as new technologies emerge in the sector it becomes even more complicated. Insurance information on Ztec100.com covers many essential aspects of the insurance industry, where articles explain complicated terms and policies.
Specifications like coverage of damages by hackers or reimbursement for premiums for medicals can be considered, and to do this knowledgeably, there’s ztec100.com.
It also provides the basic industry and market topics like the shift the blockchain caused in the insurance industry or the factors that influence customer loyalty in the modern world.
With articles like “Open Enrollment Guide: Ztec100.com explains virtually all that people have to learn concerning OEP 2024 which assists users and companies decipher the changing environment on insurance coverage with lawful ease.
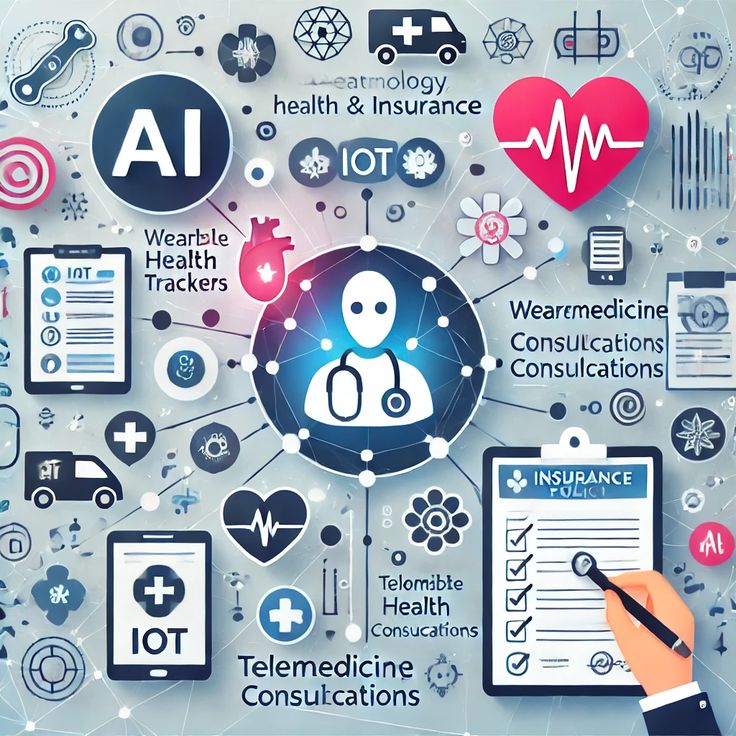
The Role of Artificial Intelligence in Health and Insurance
AI technology is now revolutionizing companies in various countries, and through Ztec100.com, you learn how AI affects the health care and insurance sectors.
The application of the term AI is not just as a mere trend, as it is currently in practice being employed to improve patient experiences, organisational flow and even insurance products.
On Ztec100.com, the reader learns how these innovations are changing the industry and what the future of health and insurance looks like.
For instance, the article entitle Why are you still skeptical about the AI? In “AI Keeps It Real – It’s Normal (and Healthy)” focuses on possible worries and actual advantages related to AI.
While analysing the case of Ztec100.com it equally describes how this transformation technology has the potential of creating employment opportunities for the unnecessary man power in other parts of the world apart from the benefits it brings to organizations and the advancement in automation brings problems such as unemployment to certain societies. No matter the stance you have towards AI – positive or negative – the platform keeps you knowledgeable.
Fitness and Nutrition for the Modern World
Fitness and nutrition is a concept which has gone beyond being just a fad; rather fitness and nutrition is the order of the day. Ztec100.com understands this, and provides the reader with useful tips on how to keep fit through exercise and diet.
Both the beginning exerciser as well as the advanced athlete will find valuable tips in Ztec100.com.
For example, articles like “BCAAs vs Protein: What’s the Difference?” contain concrete and practical guidelines which explain you how to make the right decision with regard to supplements.
Updated daily on wearable technologies and the latest in fitness equipment, Ztec100.com makes sure you’re up to date on how to maximize your fitness process with the use of today’s gadgets.
Ethical Dilemmas in a Digital World
Technology is becoming a part of our lives, and the issue arises regarding the ethic aspects which are not resolved. Ztec100.com addresses these problems directly with its own brand of ethical advice in the form of ‘Your Mileage May Vary’.
This series presents actual-life issues, for example the agonizing and moral issues brought about by a number of sophisticated technologies including DNA profiling.
For instance, the piece of news, “A DNA Test Revealed a Family Secret” What Do I Owe My Newfound Relative? At Ztec100.com, the author captures the challenges of multiplicity in the modern technological era taking a simple focus of family relationships.
This kind of articles does not only include tech and health, but goes deeper into the person’s moral lessons present in today’s society; that makes Ztec100.com a source of almost any feature.
Staying Updated with the Latest Tech Trends
In an ever changing world where technology is rapidly advancing, the important thing is to be updated. Get wise with the newest development in cloud computing technology to the newest breakthrough technologies in security from Ztec100.com.
If you are interested in becoming informed on these new trends and how they will redefine your health, insurance, and personal worlds, the place to be is at Ztec100.com.
Some articles are more specific, for example, “Terraform Cloud Director Provider v3.13.0 is focused on the technical side of using cloud technologies, while the articles such as “Digital Transformation Trends: AI, Blockchain, Security” give an audience an insight of the latest trends across AI, Blockchain, and Security.
Through its content, Ztec100.com assures that individuals are not ignorant of current occurrences in the_technological world.
Why Ztec100.com Is Your Go-To Resource
Also, Ztec100.com is one stop center where people can get latest information on subjects like Health, Insurance and Technology.
It targets a large audience, including computer scientists, technologists, gadget lovers and pretty much anyone interested in their health and welfare.
Whether people want to know more about the development of artificial intelligence, get to know the new opportunities offered by insurance or try to learn more about the newest trends in the field of fitness, there is something interesting at Ztec100.com.
This is true to the current advanced technological world as it is friendly to every user and offers accurate and current information.
Key Takeaways:
- At Ztec100.com, you will find Important guide related to Health, Insurance and all about technolagy based information of the world.
- The platform has the trends on developments in AI, cybersecurity, and wearable devices to keep you informed.
- On Ztec100.com, there is reliable, down-to-earth information on training, eating healthy, and choosing the right insurance plan.
- Ethics brings humanity into a conversation which gives ideas regarding complexity of contemporary technologies.
- Ztec100.com truly has its focus at the user and provides a large amount of useful information that is easy to access.