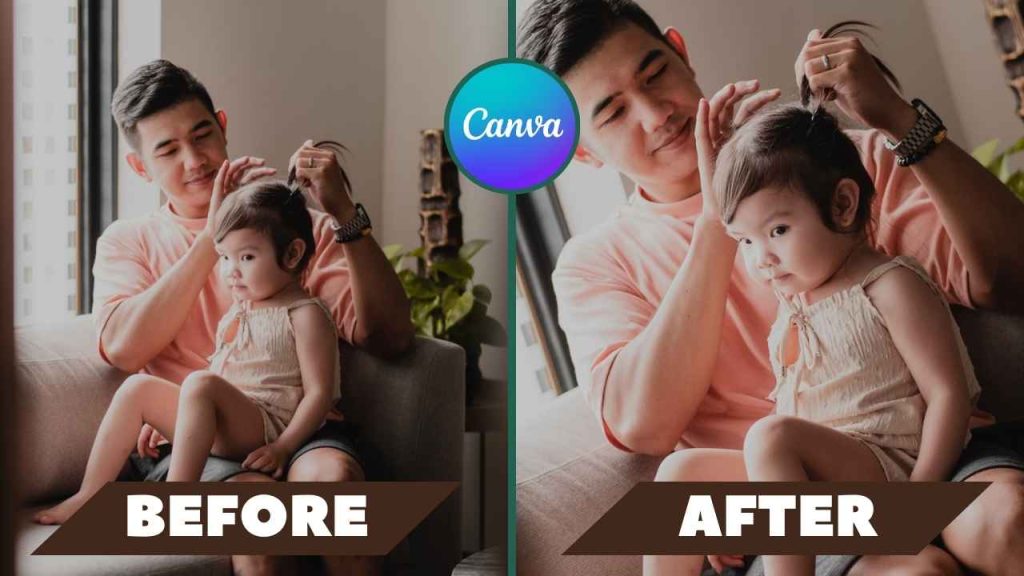
Welcome to this tutorial on Canva photo editing! Canva is a powerful and user-friendly image editor that can help you create stunning graphics for your personal or professional projects. Whether you’re a blogger, marketer, or social media enthusiast, Canva has the tools you need to make your images stand out. In this tutorial, we’ll walk you through some simple steps to get started with Canva’s photo editing features, including how to upload, edit, and enhance your images. So, let’s dive in and explore the world of Canva photo editing together!
How to Edit Photo in Canva ? – Simple Steps
Let’s start exploring canva image editor with full of amazing features.
How to change the background of any photo in Canva ?
Here are the steps to replace background image in Canva:
- Select your image and open it in Canva.
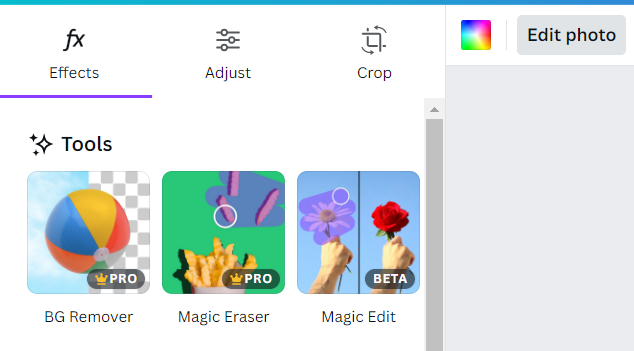
- Click on the “Edit photo” option located on the top left side of the bar.
- Apply the “Remove background” tool to your image. This will remove the background from your photo, leaving only the subject.
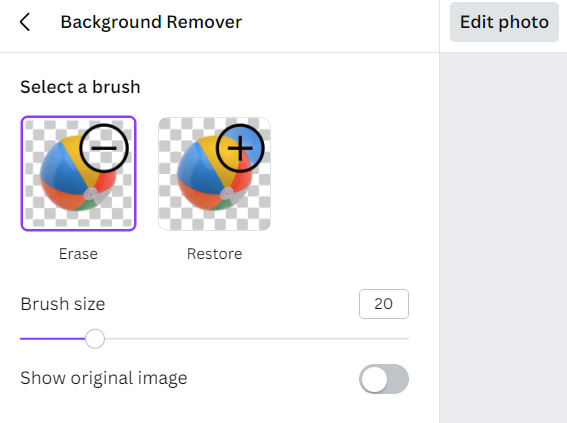
- Use the “Erase” and “Restore” tools to refine the selection and remove or restore any part of the image as per your requirement.
- Once you’re happy with the selection, your photo is ready without a background.
- Now, add any suitable image in the background from Canva’s photo library or your own. You can browse through Canva’s vast library of background images or upload your own image to use as the background.

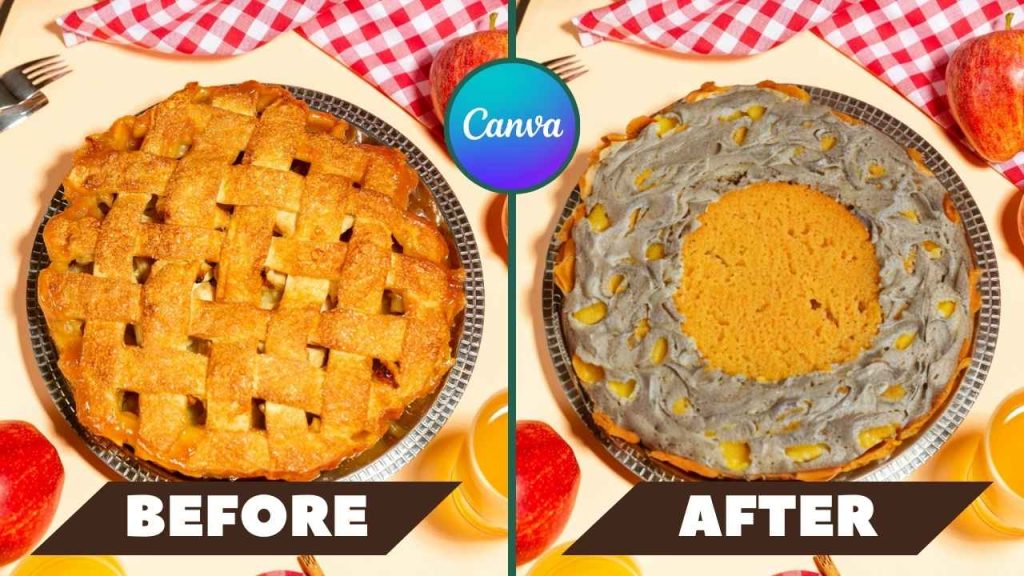
How to replace an object with anything in Canva ?
Here are the steps to replace an object in Canva with anything:
- Use Canva’s Magic Edit feature for this purpose. This is a great addition to replace something in Canva. You can replace any specific part of the image or element. To edit element in canva, first download it as JPG/PNG and then upload it again. Now apply magic edit at the area which you want to replace.
- Click on the image you want to edit and select “Magic Edit” from the toolbar on the left side of the screen.
- Select the brush tool from the Magic Edit feature and increase or decrease the size of your brush as per your requirement.
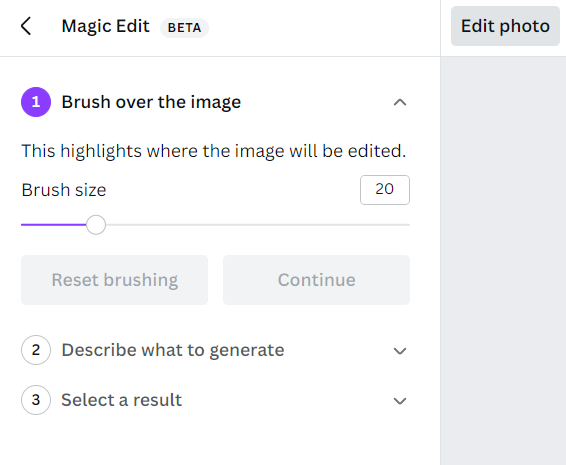
- Use the brush to select the area of the image that you want to replace.
- Once you have selected the area, Canva will present you with replacement options in the sidebar. You can select an AI-generated option, such as a similar object or a pattern, or you can write anything in the search box to find an image to use as a replacement.
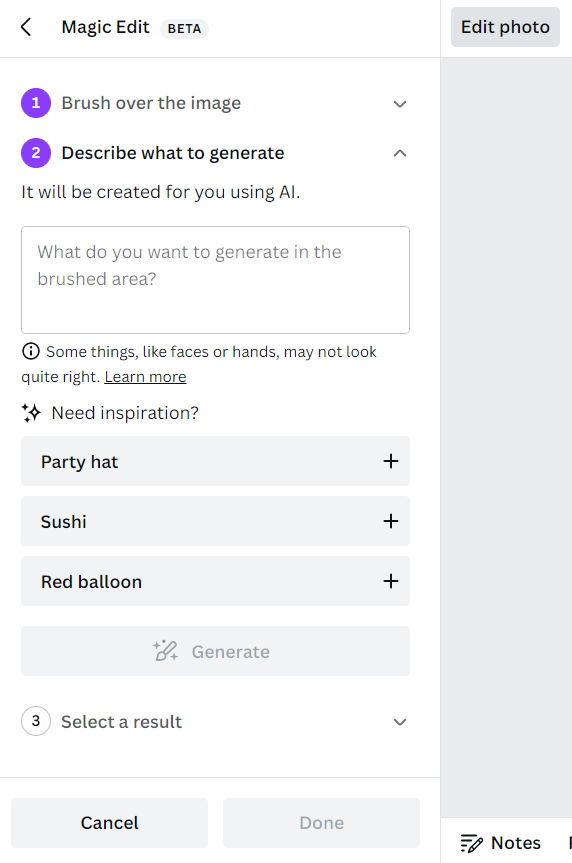
- Select the replacement image and Canva will automatically replace the selected area with the new image.
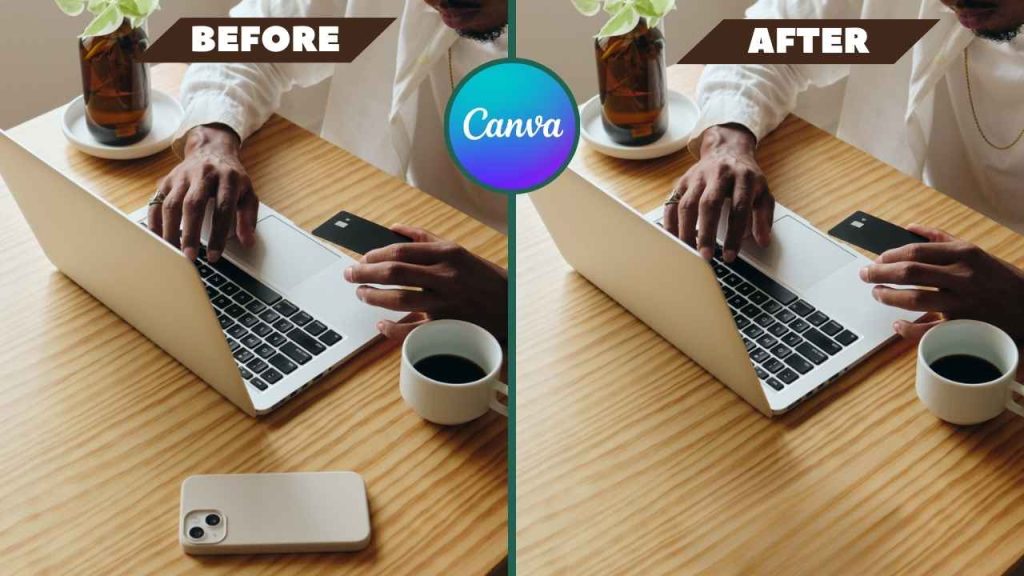
How to delete a selected area in Canva ?
Here are the steps to remove unwanted objects from a photo in Canva:
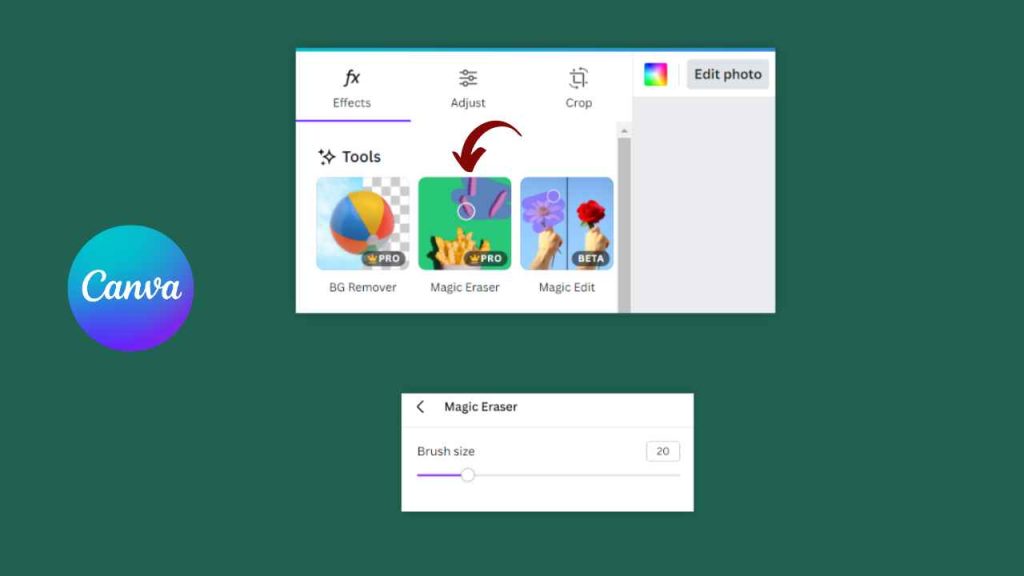
- Select Canva’s Magic Erase feature from the toolbar on the left side of the screen.
- Use the brush to select the area of the image that you want to remove. You can increase or decrease the brush size to get better results.
- Canva’s AI technology will automatically remove the selected object from your image.
- You may need to apply the Magic Erase tool more than once on your selected area for better results.
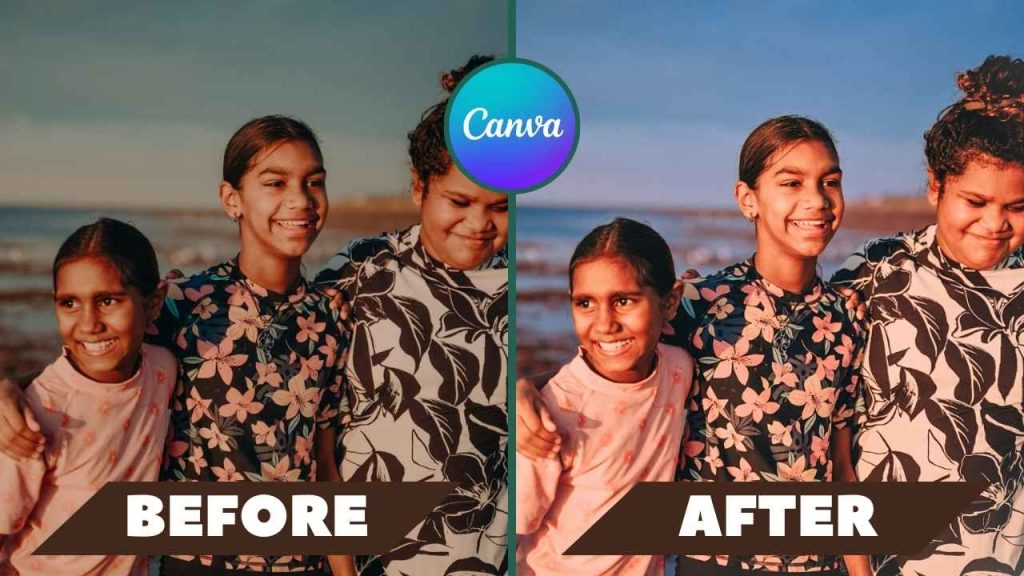
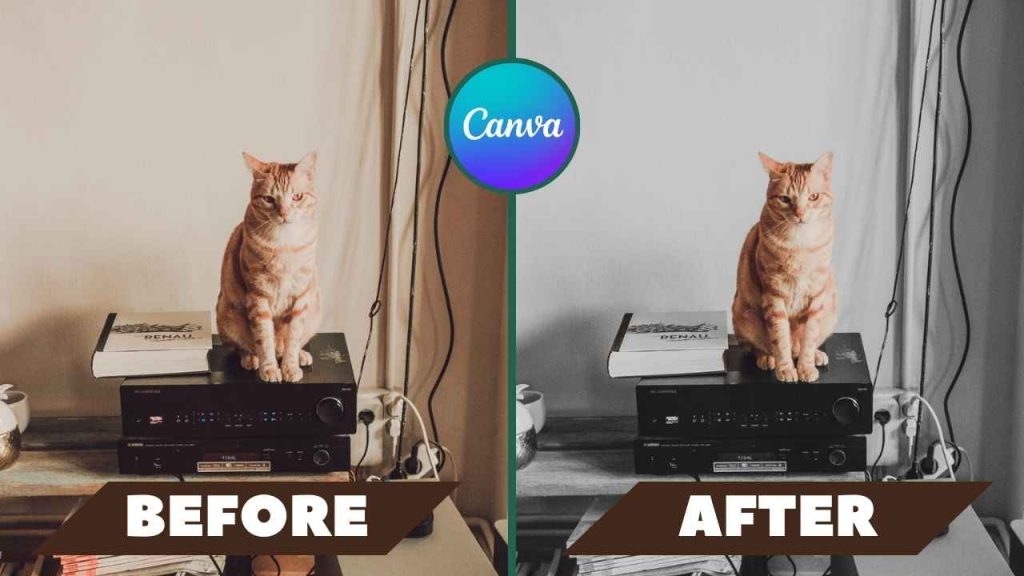
How to make Images black and white in Canva ?
Here are the steps to make images black and white in Canva:
- Select your image in Canva and click on “Edit photo.”
- Then, go to the “Adjust” option on the top left side of the screen.
- Here, you can change the colors of your image as a whole or use the options to apply filters to the background or foreground specifically.
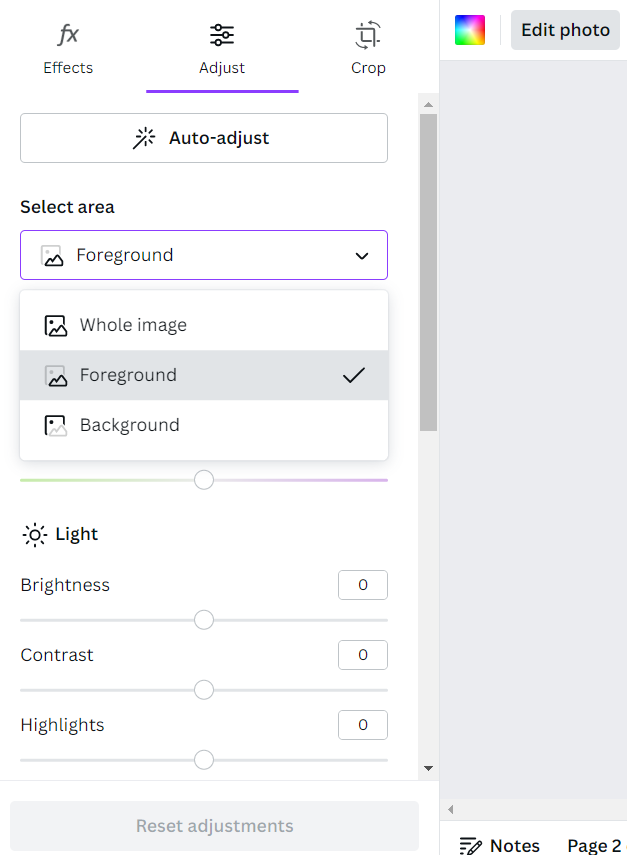
- To make your image black and white, you need to reduce the saturation level of your image.
- You can do this on the whole image or on the background or foreground only by selecting the appropriate option in the “Adjust” menu.
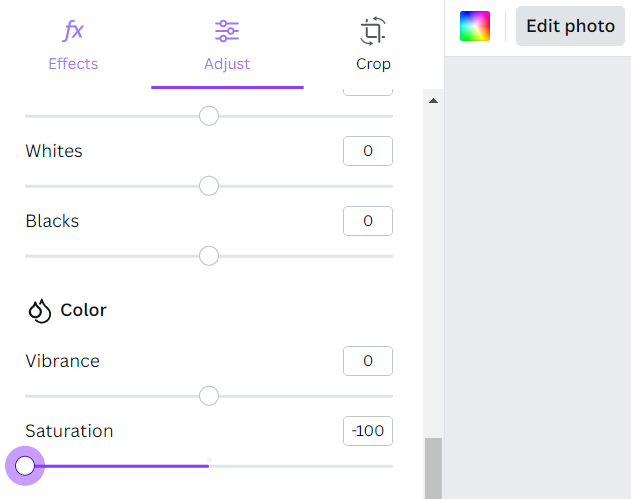
- To reduce saturation, move the slider to the left until you achieve the desired black and white effect.
How to Crop Freehand in Canva ? – Quick Method
Here are the steps to crop in Canva using the quick method:
- Select the image you want to crop in Canva.
- Go to the editor toolbar located on the top of the screen.
- Click on the “Crop” option located on the upper right corner of the screen.
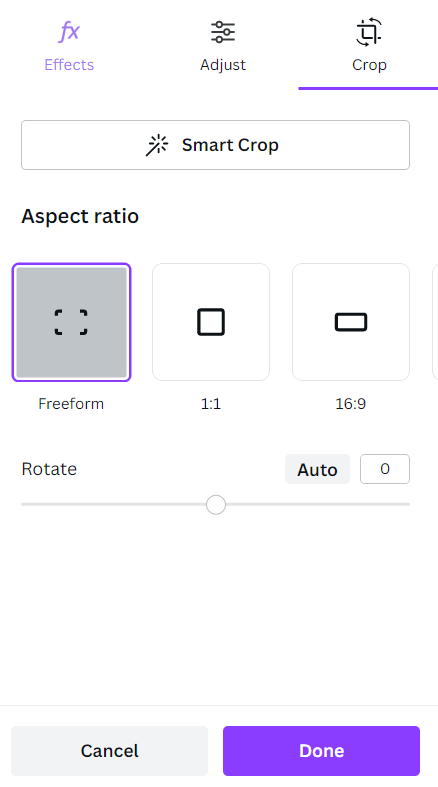
- From here, you can crop your image as per your needs. You can crop your image using the pre-defined aspect ratios or can even crop freehand. You can also use smart crop option for quick results.